I made a magsafe mount in black for my Kia and I didn’t like the layer lines on the curved parts, but it gave me the idea to try using wood
I have a 3D Chameleon MMU so I added color changes randomly throughout between two shades of brown. One is wood, one is PLA.
It honestly came out way better than I even expected!
If anyone wants the STL I can provide it!
How much purge for something like this?
purge tower was pretty hollow
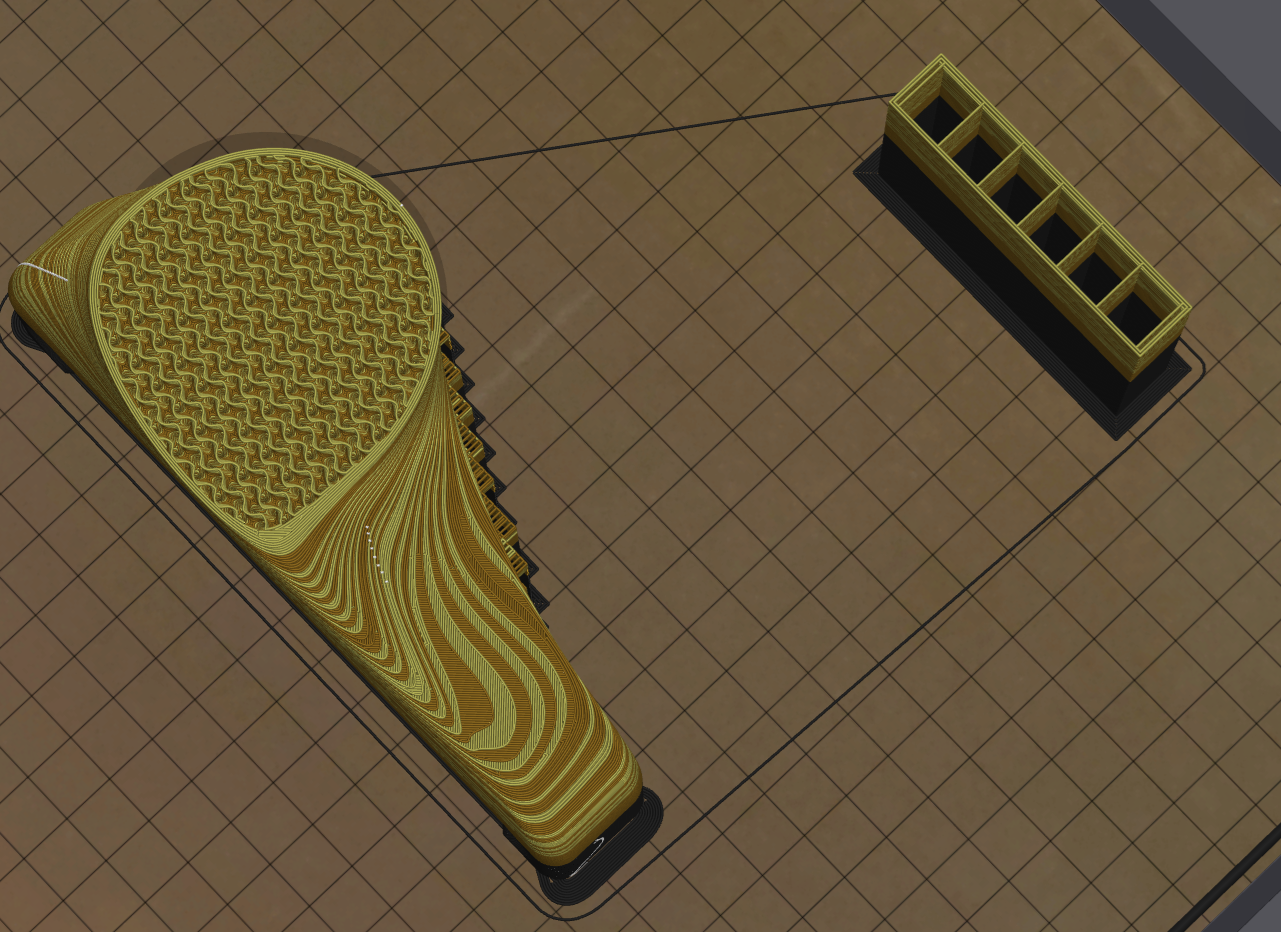
I’ll check the slicer again but it was really small. Most of the purge went into infill instead. Maybe like 5 grams?
I had my purge values low to encourage blending of the colors. I might try using 0 for purge volumes next time to encourage more natural blending.
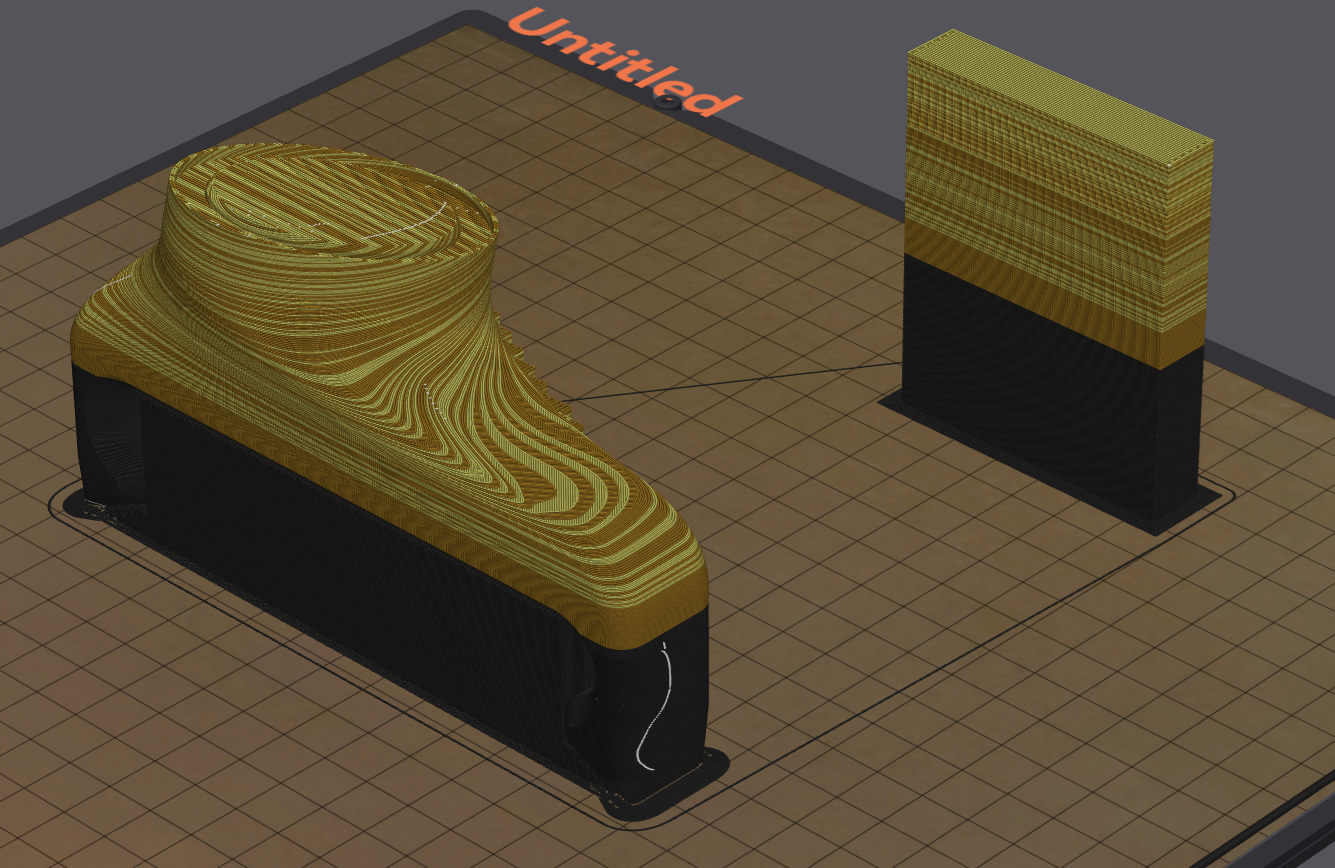
What slicer is it ? I will check if it is possible to set no purge at all in BambuStudio - since I have an AMS lite.
It looks feasible with a purge multiplier set to 0. https://forum.bambulab.com/t/setting-an-unbeatable-record-no-flush-at-all/51052/4
Orca :)
It’s pretty similar to bambu
With Sunlu’s new filament joiner coming out, I might give this a try by splicing segments of different browns together into a big roll. It’s a very near concept, and your print looks amazing!
That’s a great idea! Would be such a faster print too
Gist time I sliced something for my AMS lite I was flabbergasted by the increase in printing time and waste.
For those unaware, since you’re often having 4 filament changes per layer, each of which take about a minute, a 1hr mono-fillament print can suddenly turn into a 36-hr print with 5-10x more filament being purged than ends up in the model.
It’s really cool, but super wasteful.
But you can strategize to minimize filament changes by splitting up a model and stacking it to minimize filament changes per layer. This one only took about 8 hours.
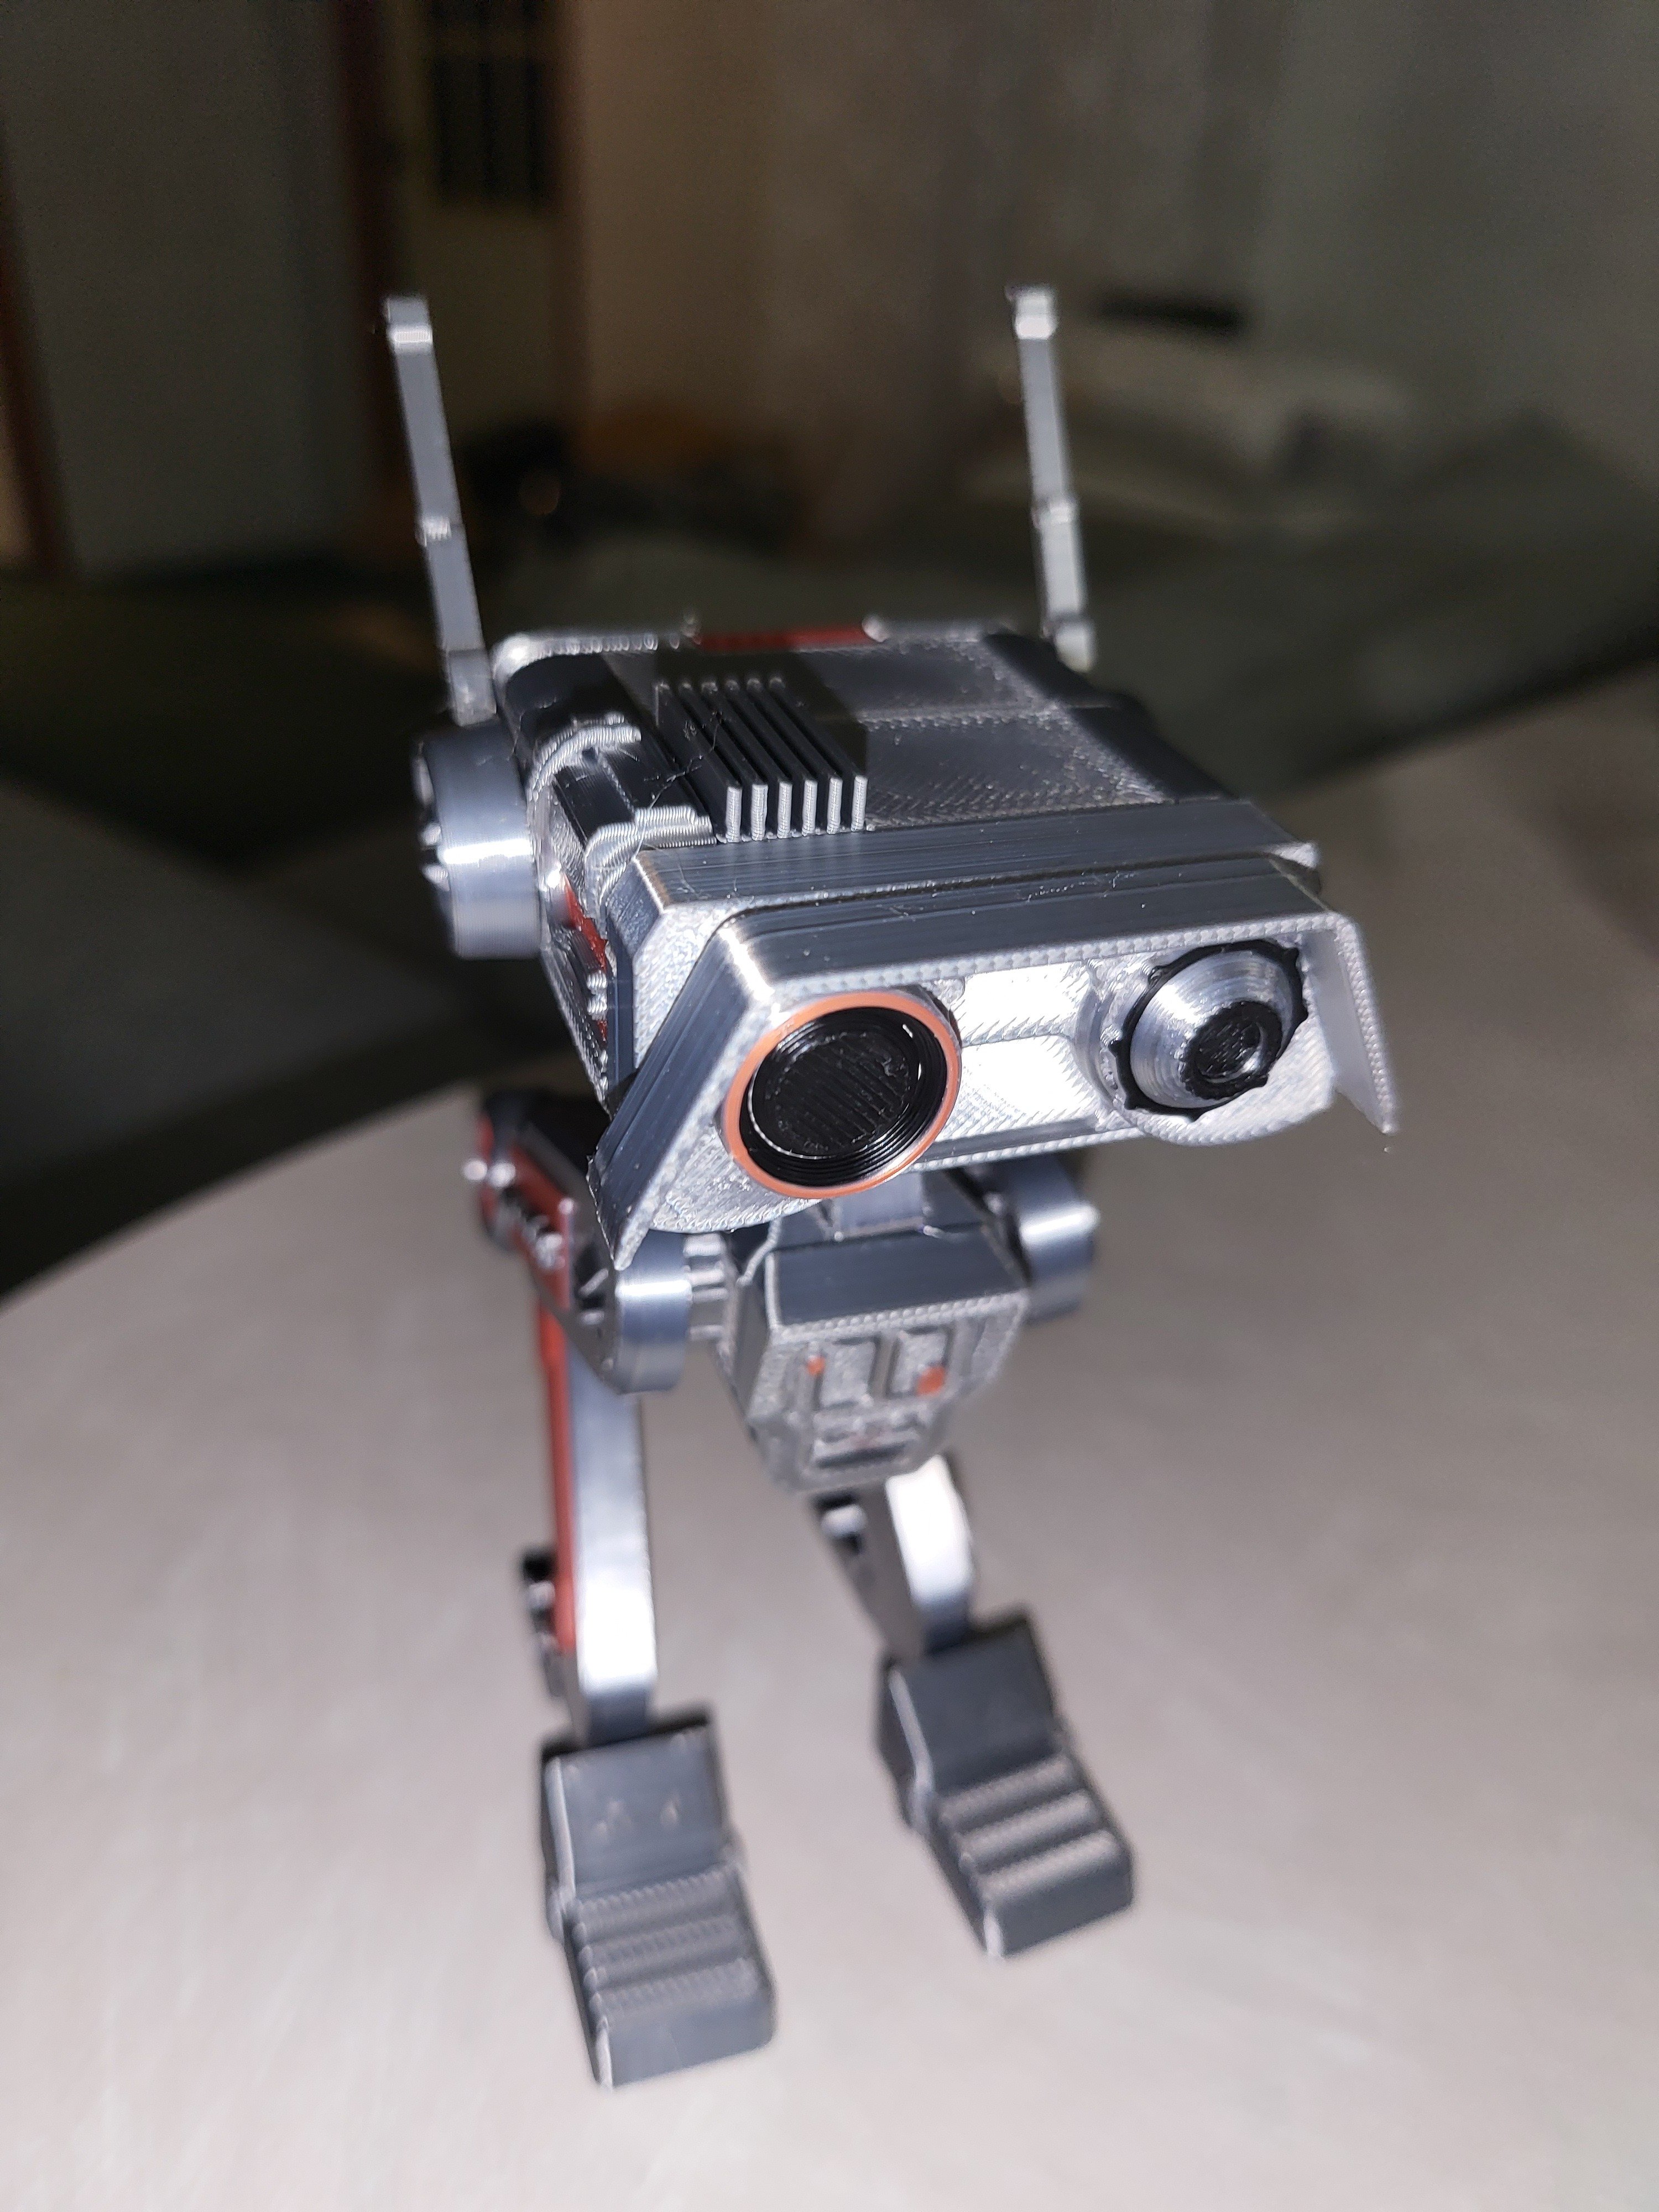
One reason I love the 3D chameleon is that it is easily modified in how it operates.
I have mine doing color changes at 20 seconds! It shaves many hours off of some big 4 color printsI always Purge to infill and if there is a lot of purge material in the block I will add an object that is printed using the Purge. Something that I don’t mind being stripey
What annoys me and I don’t entirely understand is the purge tower. If I purge to infill or another object, why am I still having to build this dumb tower? If you choose to disable the tower, it disables the purge to infill option.
If the infill is enough to take up the entire purge volume needed to get rid of the previous color, then you are right.
Most of the time there are sections where there is not enough infill to purge what it needs to though
Since it’s not a good idea to extrude filament into open space, it has to build up a structure for that later Purge. That’s why it seems to make a hollow pointless Purge Tower sometimes.
Another factor is the minimum Purge amount. I think that is set in the filament settings. By default it is not zero, meaning it will always create the tower no matter what, though it might be really skinny.
If you add objects that will be created from The Purge material you should see that Purge Tower get smaller when you reslice, or at least less dense
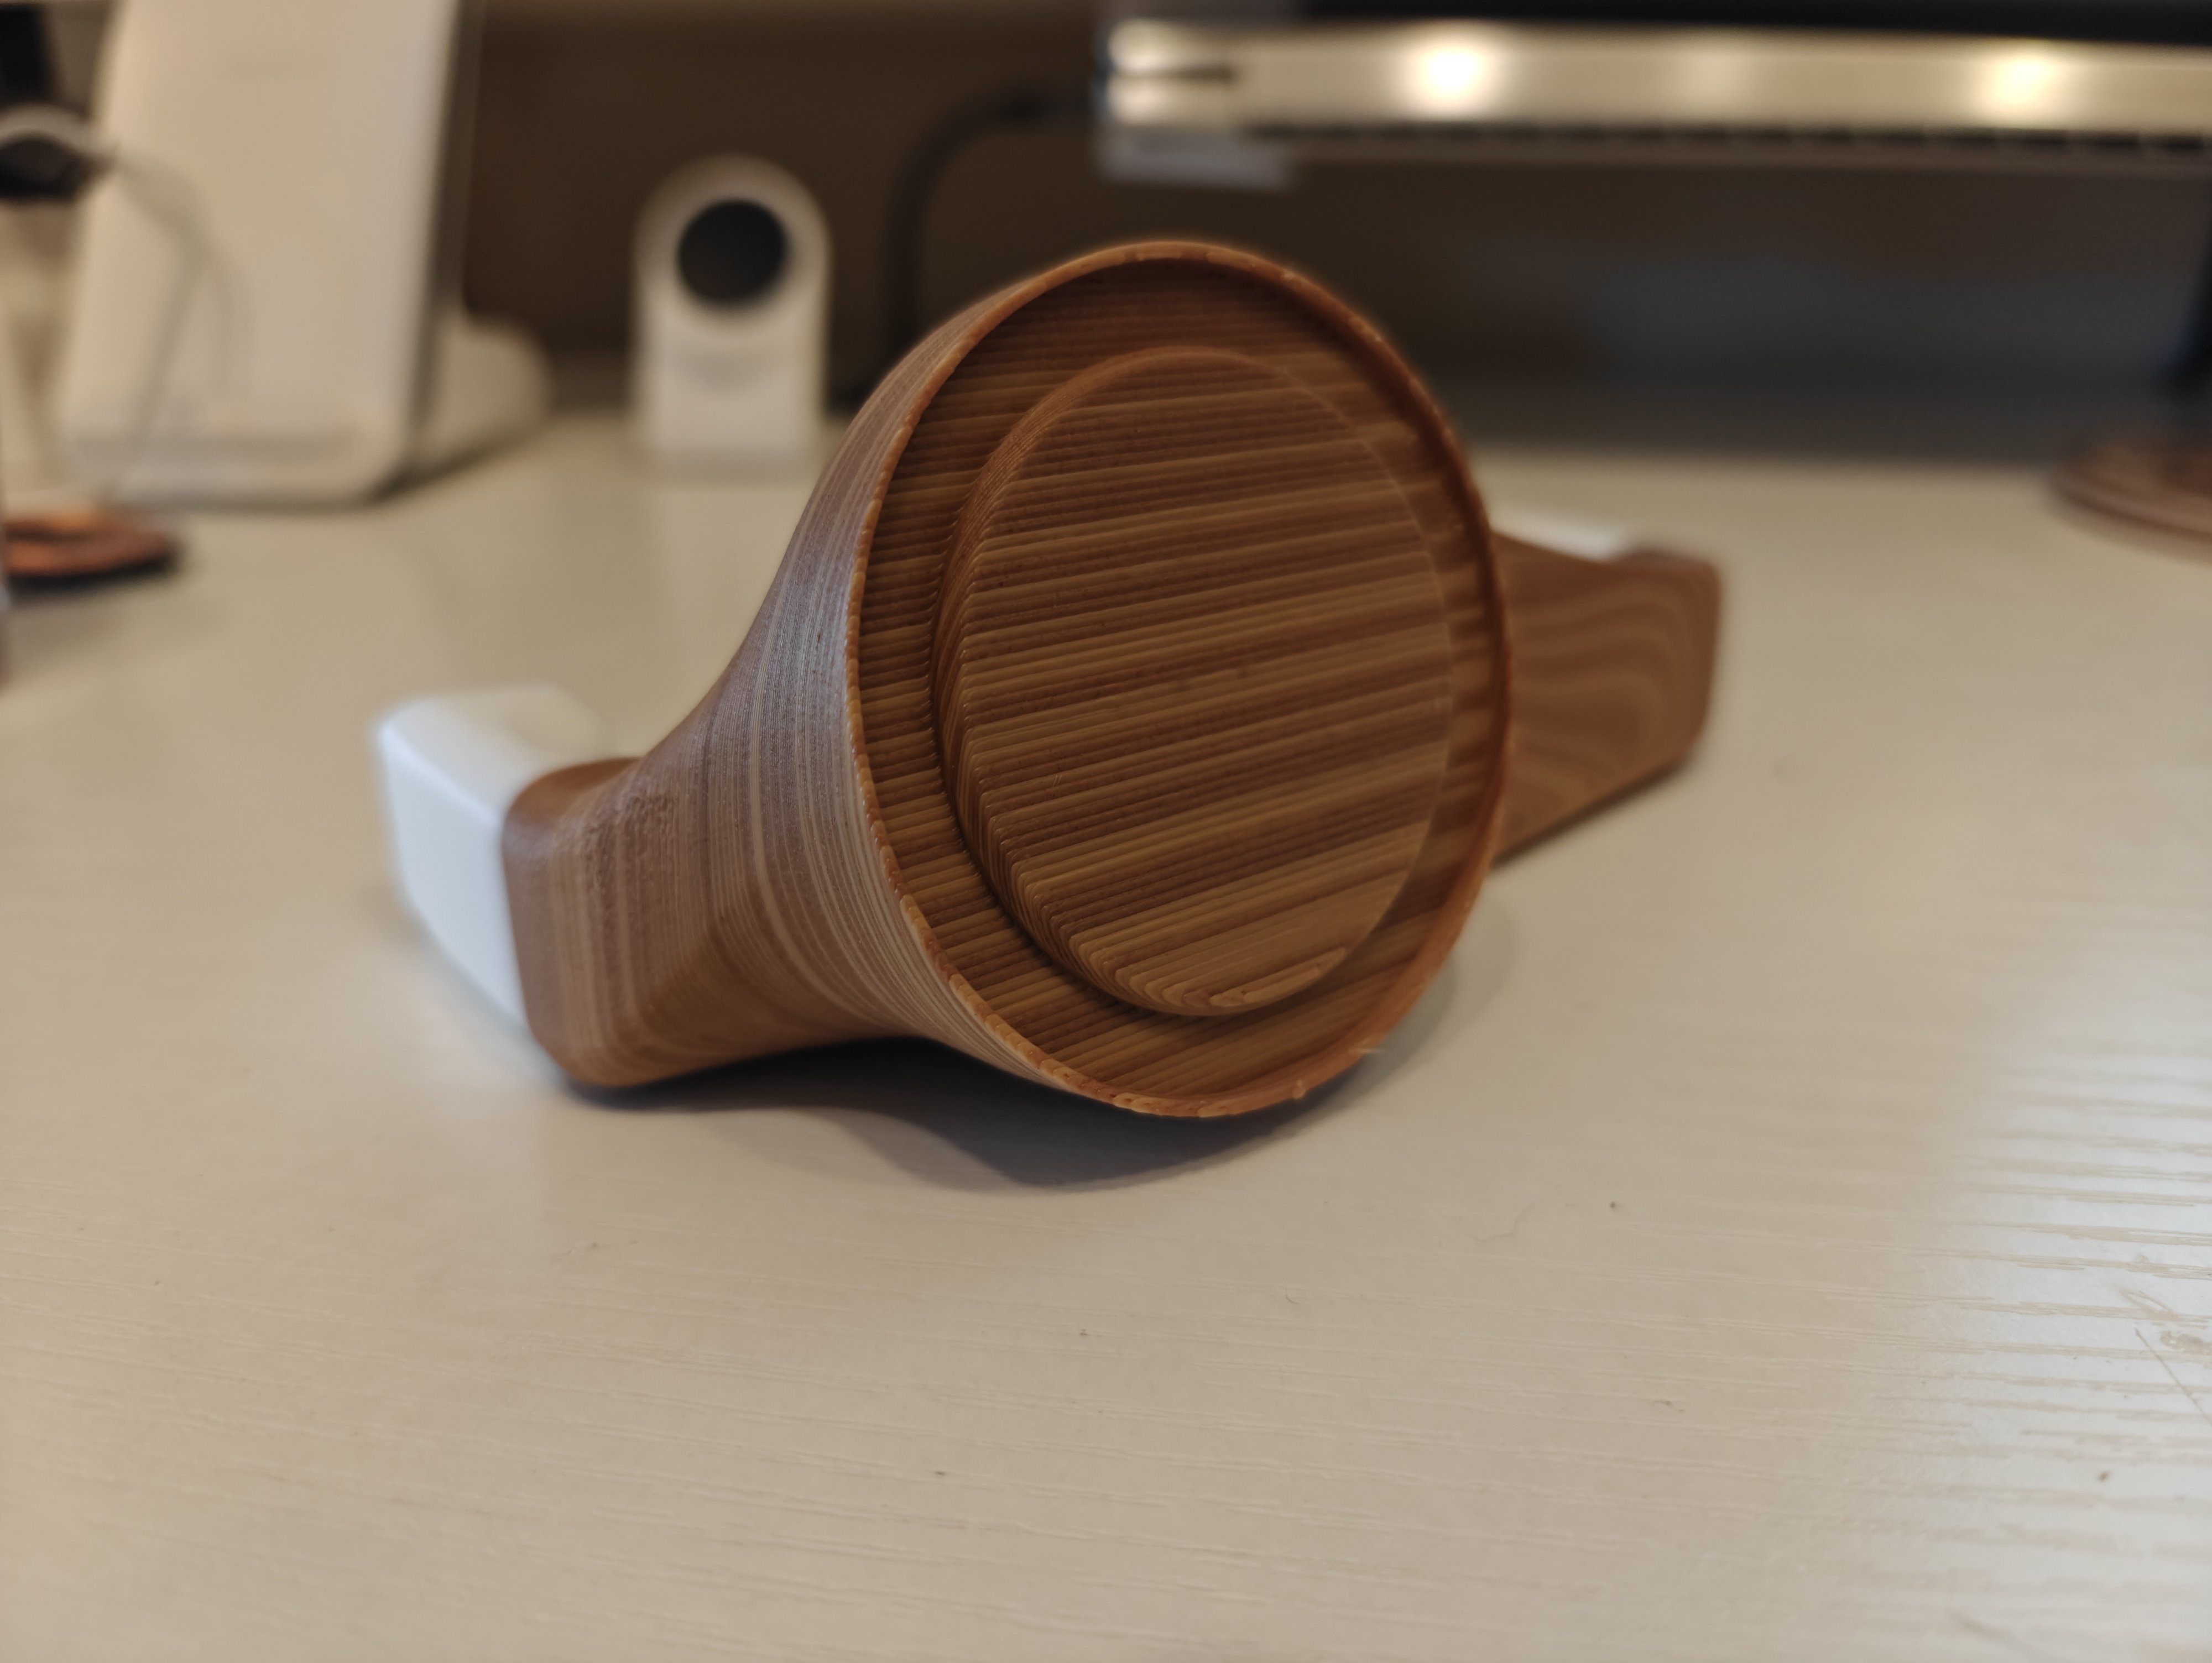
That looks great!
That’s beautiful and extremely creative. I should fix my printer.
Do it!! And thank you!
ooh that’s clever
That’s brilliant. What nozzle diameter and layer height did you use?
Thank you! Standard 0.4mm nozzle, 0.2mm layers
One of those two filaments is wood fill right? Do you ever get clogs with the 0.4 nozzle?
Absolutely, I was going to use a lighter shade of wood it kept clogging on me. Do I switched to the light brown pla. I think moisture is a big component in that too
You might try a 0.6mm nozzle, I know some manufacturers recommend >0.4 for filaments with filling in them.Very cool project though, you’re giving me some ideas.
Yeah I might try that next time. I have .8 and 1.0 too, but too lazy to keep swapping 😂
I feel it. Those quick-swap nozzles are pretty appealing. Every time I swap a nozzle on the bambu I literally swap the entire hotend and unplug 3 delicate connectors. I’m worried they’ll break after a couple dozen swaps.
I couldnt do it! I bought a pack of volcano nozzles for dirt cheap in all sizes, volcano is forever!
Sanded and assembled!
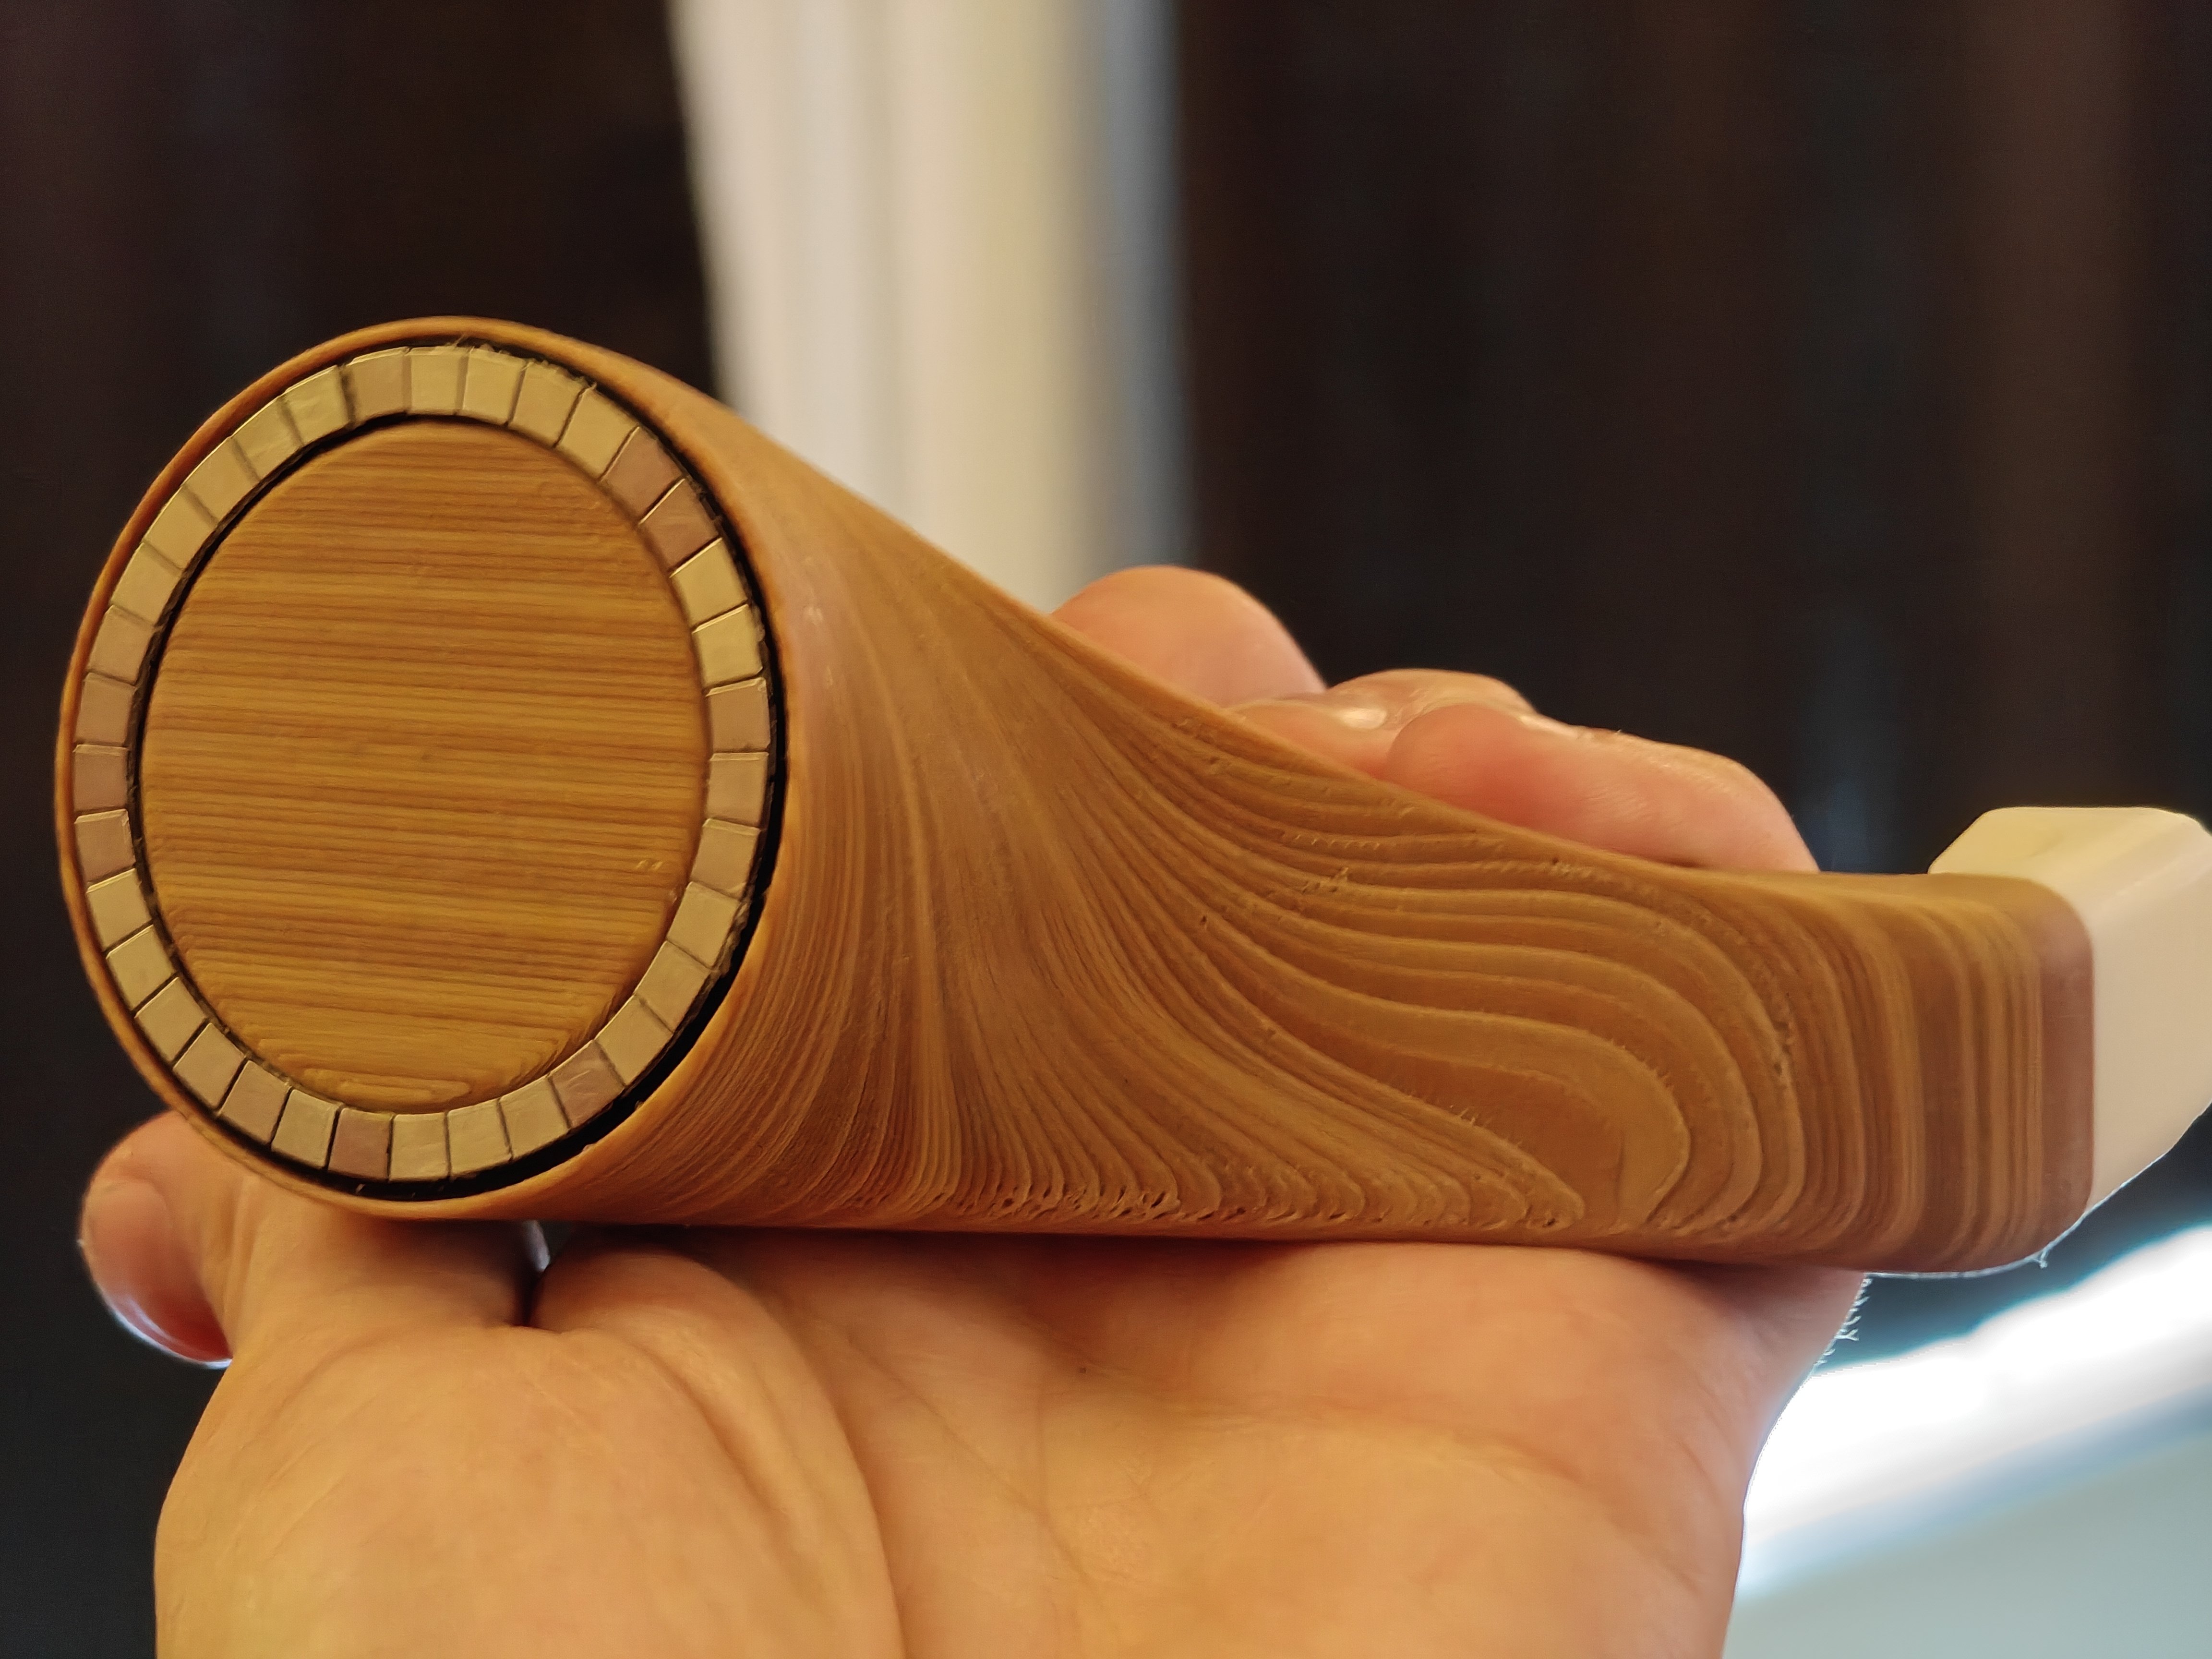
Wow!
Magnifique!
That’d a cool idea and it looks really good. I’ll have to try this for myself!
Ah, I was trying to understand what MMU was. Then I realized off of those ridges that this was a 3D printed model. I was looking at the “marbling” and imaging it was some sort of putty or something akin to sculpey. It looks both groovy and comfy and you did a great job =)
Thanks!
Yeah, you guys always amaze me. On account of being able to model things spatially in CAD-esq software. It’s a skill I never picked up on, and one that I really enjoy seeing in practice =)
Reminds me! I took a video of the timeline playthrough for the design process.
Thanks btw! It took me a few years to get efficient with CAD being self taught. Still learning
Super cool, I’m gunna show the missus. She loves stuff like this. We’re renting, but I hope someday I can set her up with a whole workshop and she can tinker away all day and night. Because it’s what she loves most (as seen above). Any cool resources you’d like to point us towards? I’ll pass them on and maybe we can figure out some kinda “micro” studio we could implement in our current situation. I miss being in a major city, because I miss creation-spaces. While I am absolutely awful at this stuff (as previously stated) I am really good with pen and paper stuff. Stuff I can get my hands on. And loved hanging with with folks like you while just doodling away in spaces like that =)
If you guys ever have a project you want to do but don’t know how to go about it send me a message! You don’t need a local community when you have all of us on here!
Absolutely love this! Do you know if there’s some kind of friend-esq thing on here? Else you know what I will do, I will just message you and put you in the logs and so if I need to reach out I can. Thank you!
Honestly don’t know, I looked at your profile and it has an option for adding you as a favorite so I did that. I don’t know what it means though lol
I completely ditched Reddit so I’ll be on here a bunch I have so many projects I want to share
I also rent, running a 3 printer business from my closet and it works!
I learned everything from forums like this and YouTube.
These are some favorites:Fav CAD educator - Desktop Makes
Hilarious crafting couple - Evan & Katelyn
Funny + knowledgeable 3D print channel - Nathan Builds Robots
Shut the front door! My wifey just popped in and I showed her your work and she got green with envy and for sure is starting to have a think about how to create some kind of modular setup. Any recommendations for something small form then if you’re working out of a closet? (I am also laughing because I once was a closet -> computer person and you do what you gotta do in life =P!)
Gunna pass those guys on and thanks a slew for everything even if we leave it at this =)!
You mean for storing the printers and stuff? Most use IKEA side tables or those metal racks if they have many. I use assorted short tables, very makeshift.
It’s an absolute disaster zone right now because I have so many concurrent projects 😂
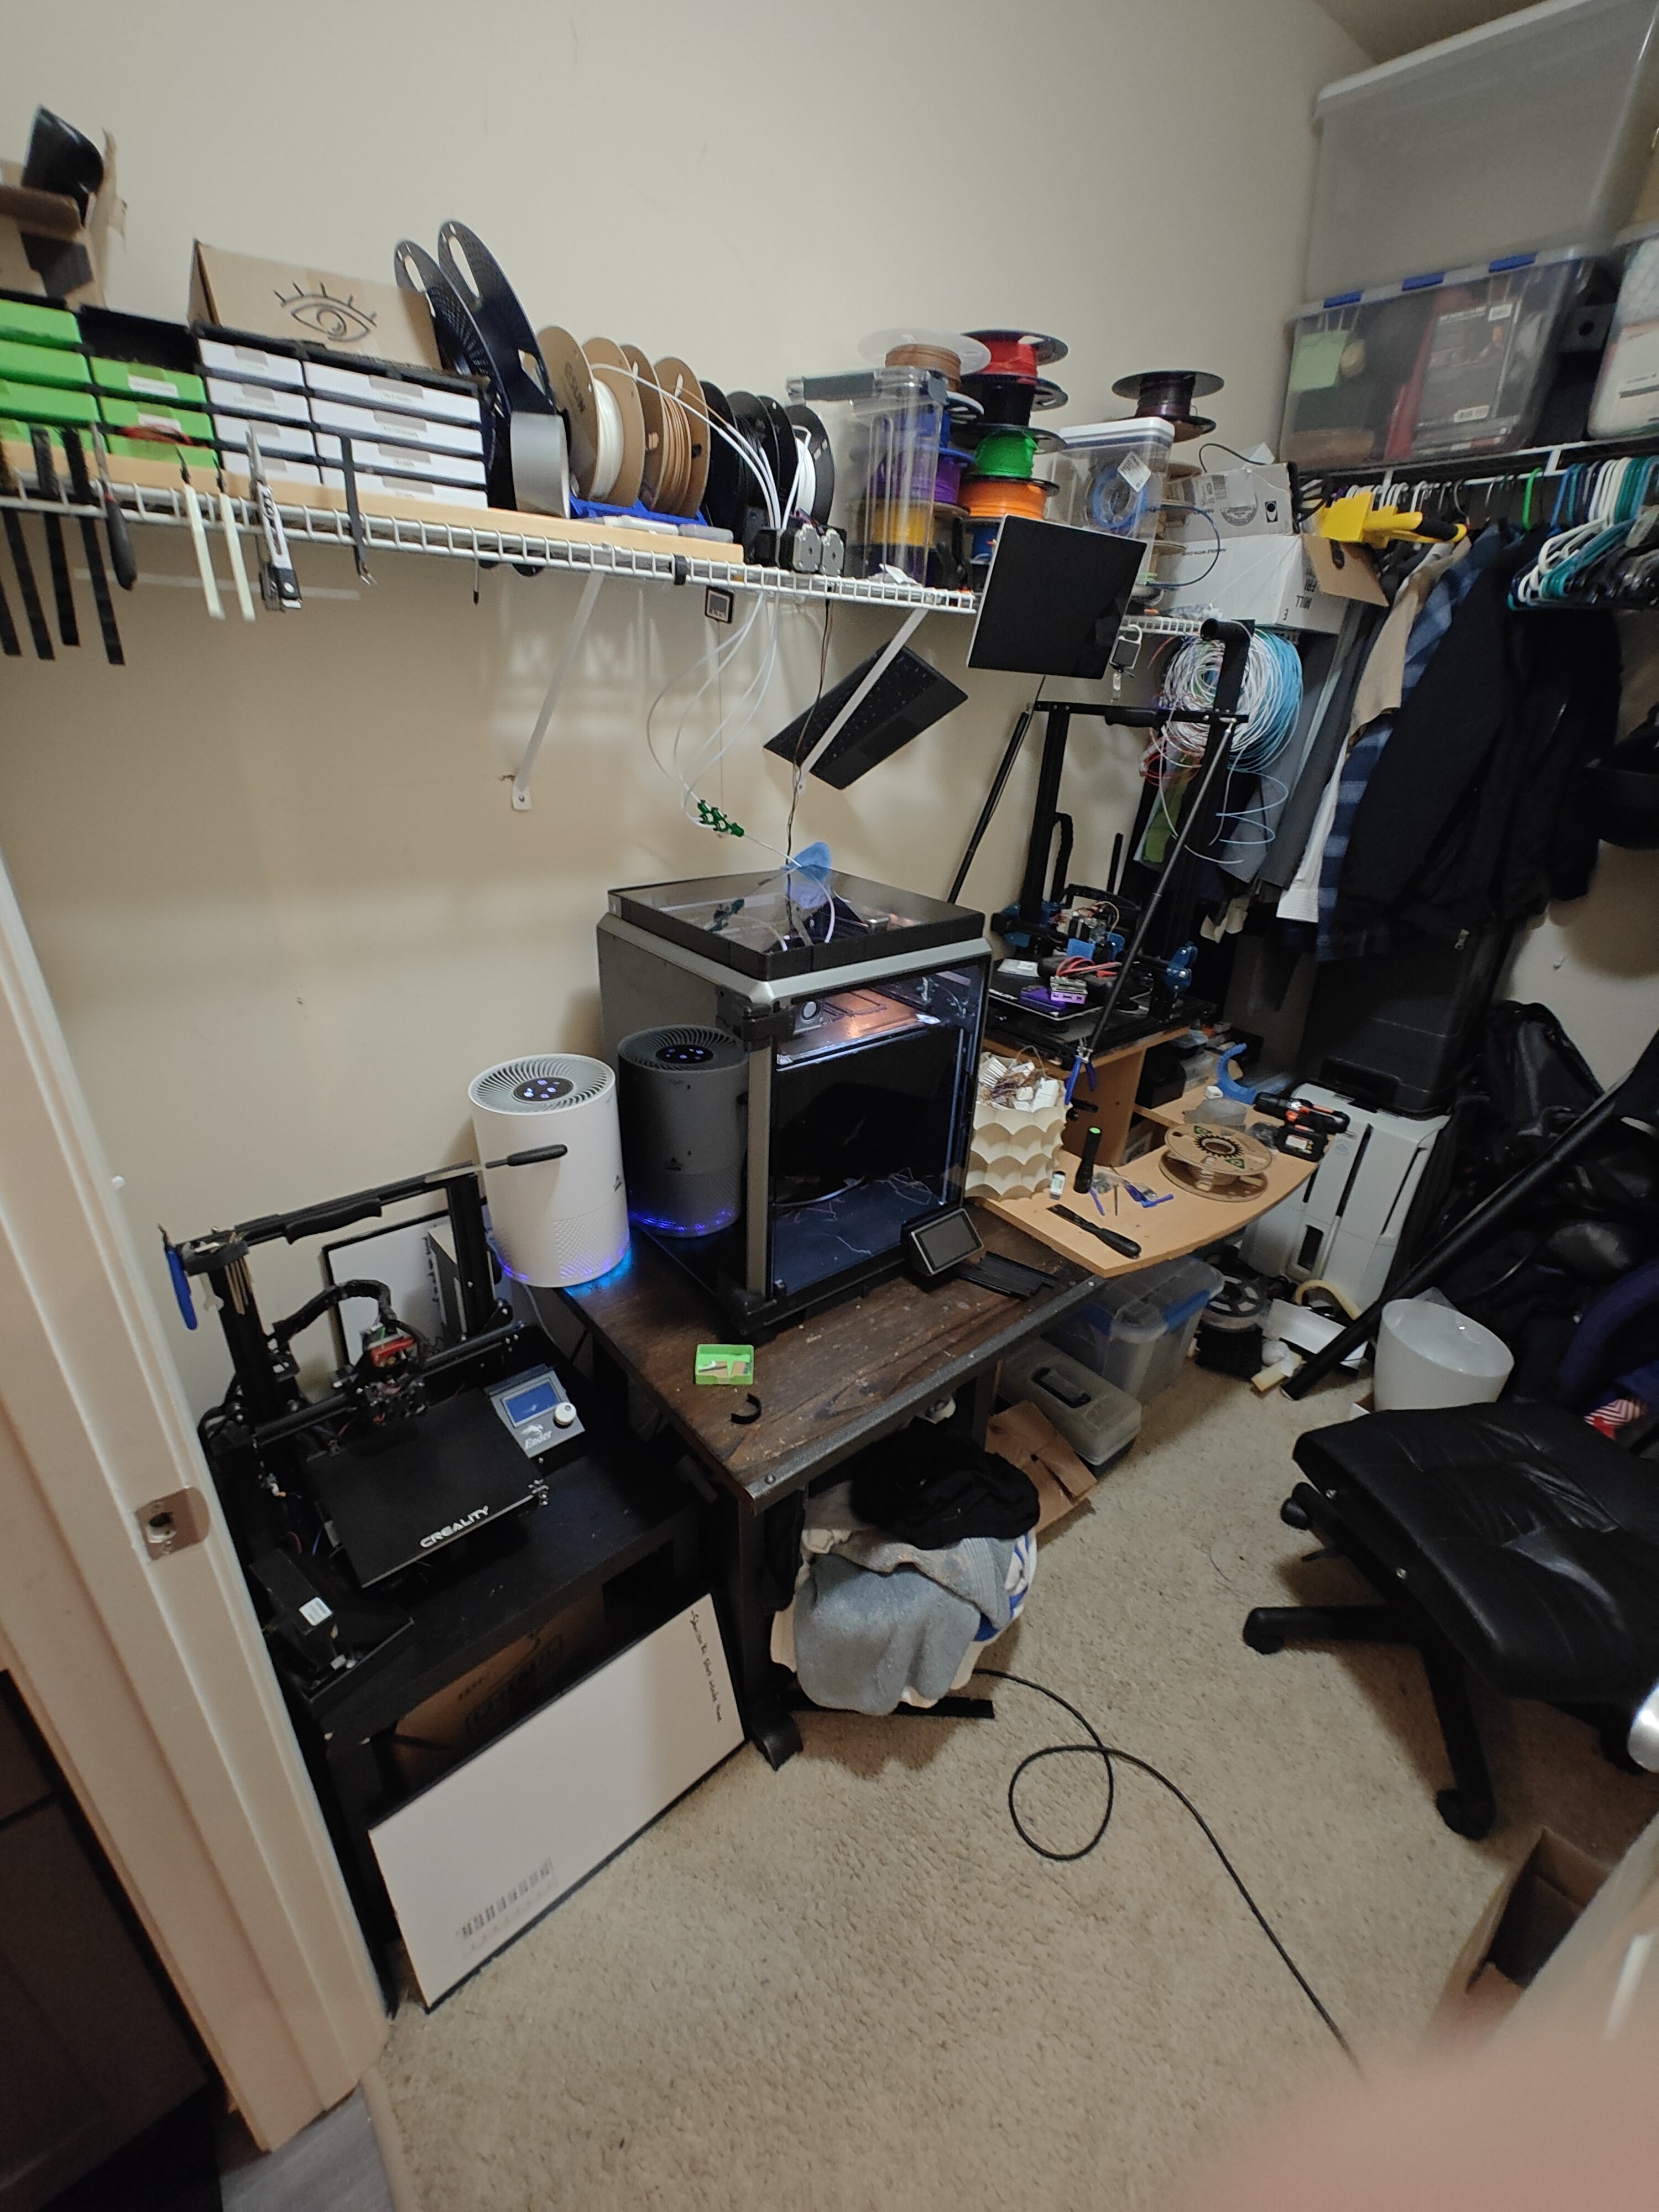
I’d love a 3D chameleon for my printer, but their shipping rate (I live in EU) is absolutely insane and unreasonable since they don’t even handle import and taxes for that price.
It looks like there are going to be more options coming out from established manufacturers like creality
this is cool!
Do you think printing without purge would make it look better? Or would it just blend into an medium brown
I think better, if there was always a little bit of leftover filament the pattern will be more random I think. With more gradual gradients
Pretty cool!
Be careful with PLA in your car, it will probably deform in the sun.
For sure! Luckily I park in an underground garage, so my car interior never really gets over 90
I have some PC just in case it does warp
10/10 would grain
When the comment is better than the post 😅
cool new extremely innovative home-made project vs low effort shit post


